Creating dashboard layouts
This page provides a brief walkthrough of using the dashboard extension. The extension provides additional, built-in help about all of the dashboard features. The steps below include instructions on how to access the help.
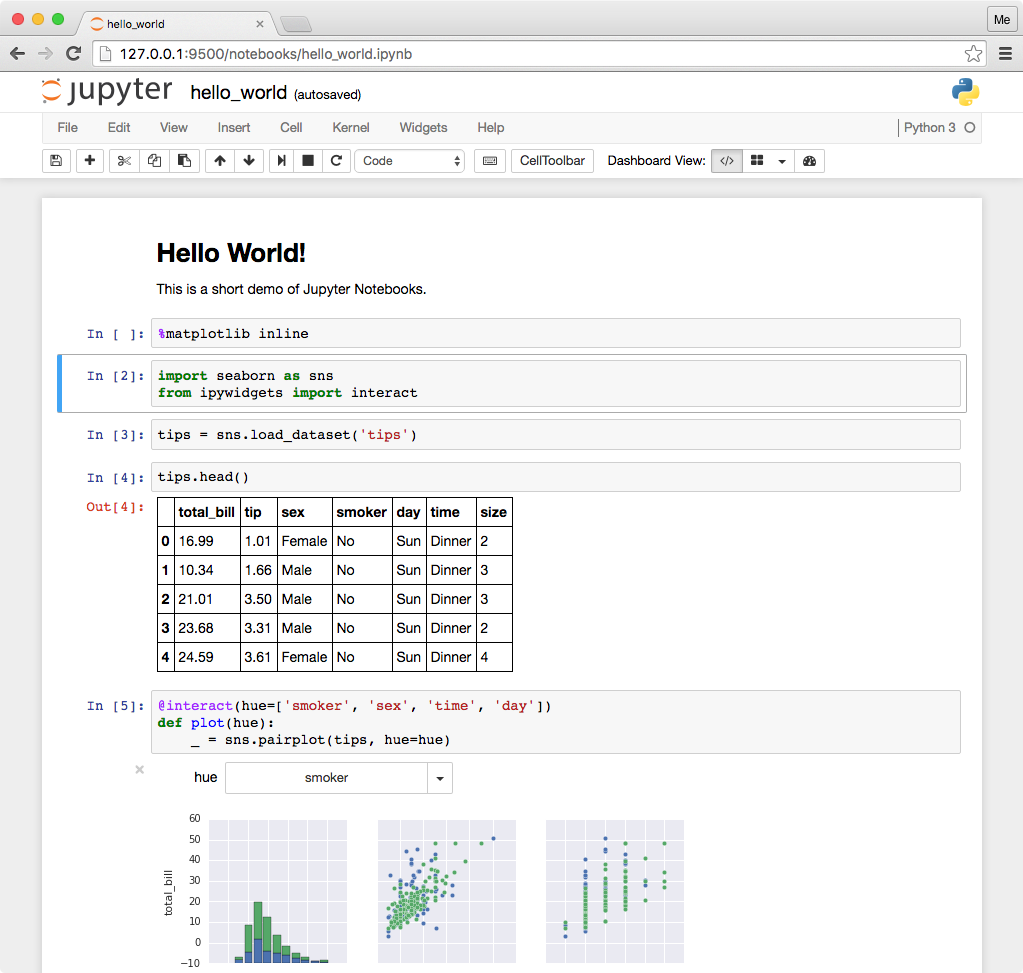
Create a new Jupyter notebook document in a language of your choice. Insert markdown and code into the notebook. Run the cells to generate text, plots, widgets, etc.
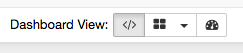
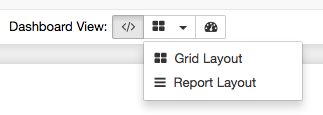
Select either Grid Layout or Report Layout in the Dashboard View toolbar. Alternatively, use the options in the View -> Dashboard Layout menu.
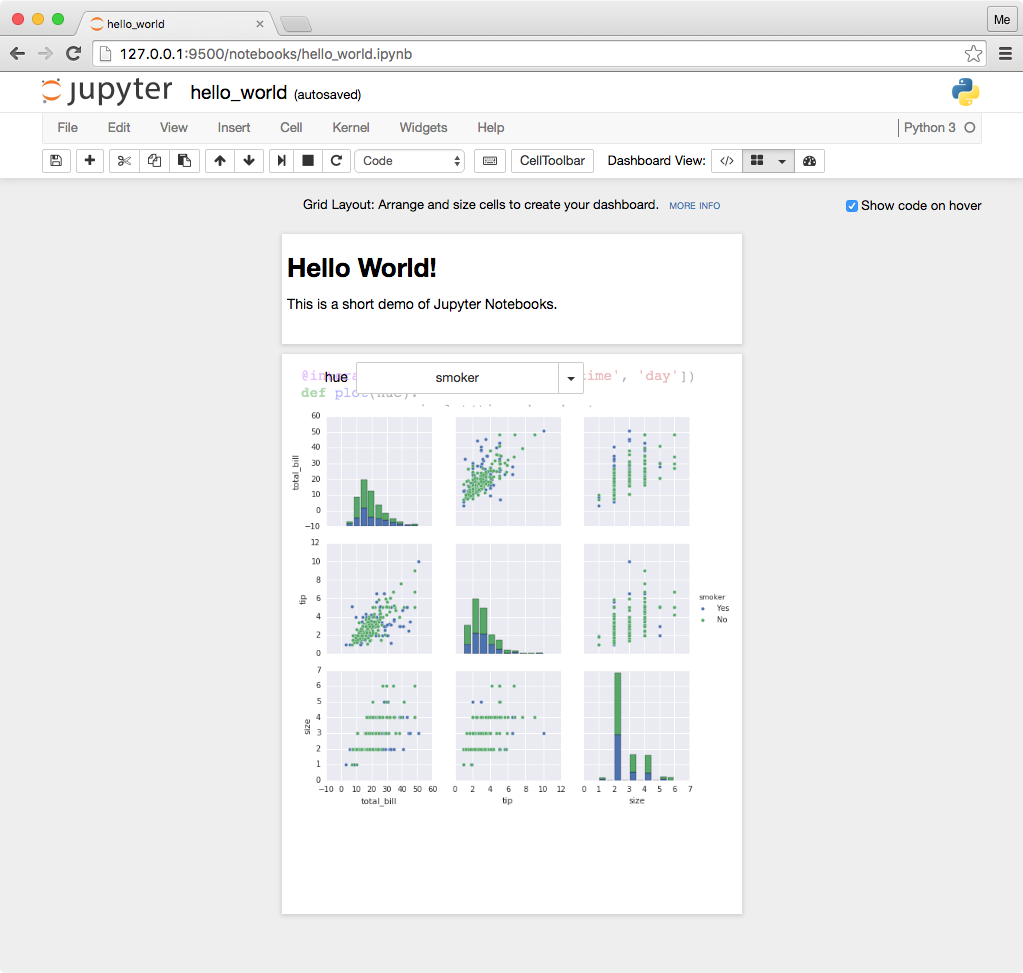
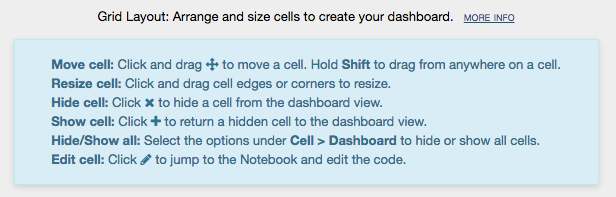
In grid layout, drag handles to resize and move cells in the grid. Click the
buttons to add or remove cells in the layout. Use the Cell -> Dashboard menu
items for batch operations.
In report layout, click buttons to show or hide cells.
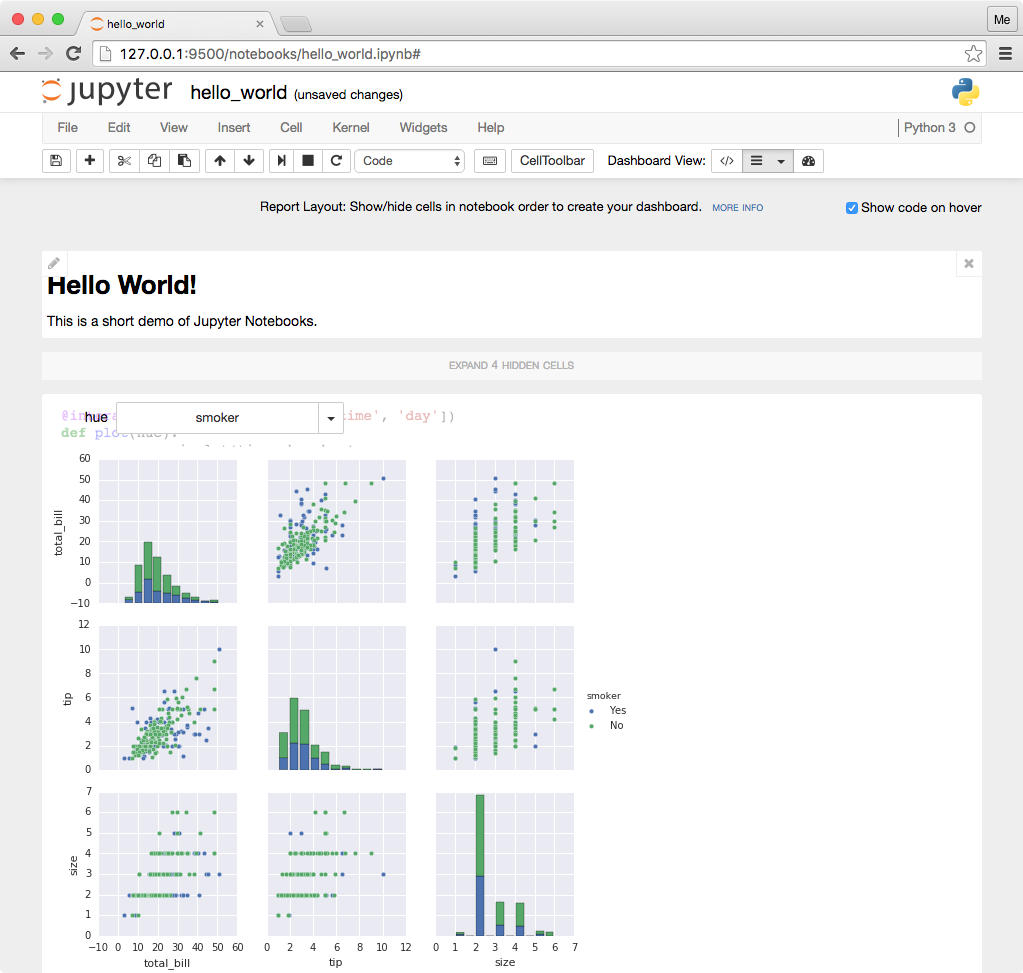
Click More Info at the top of the layout view for help with additional
features.
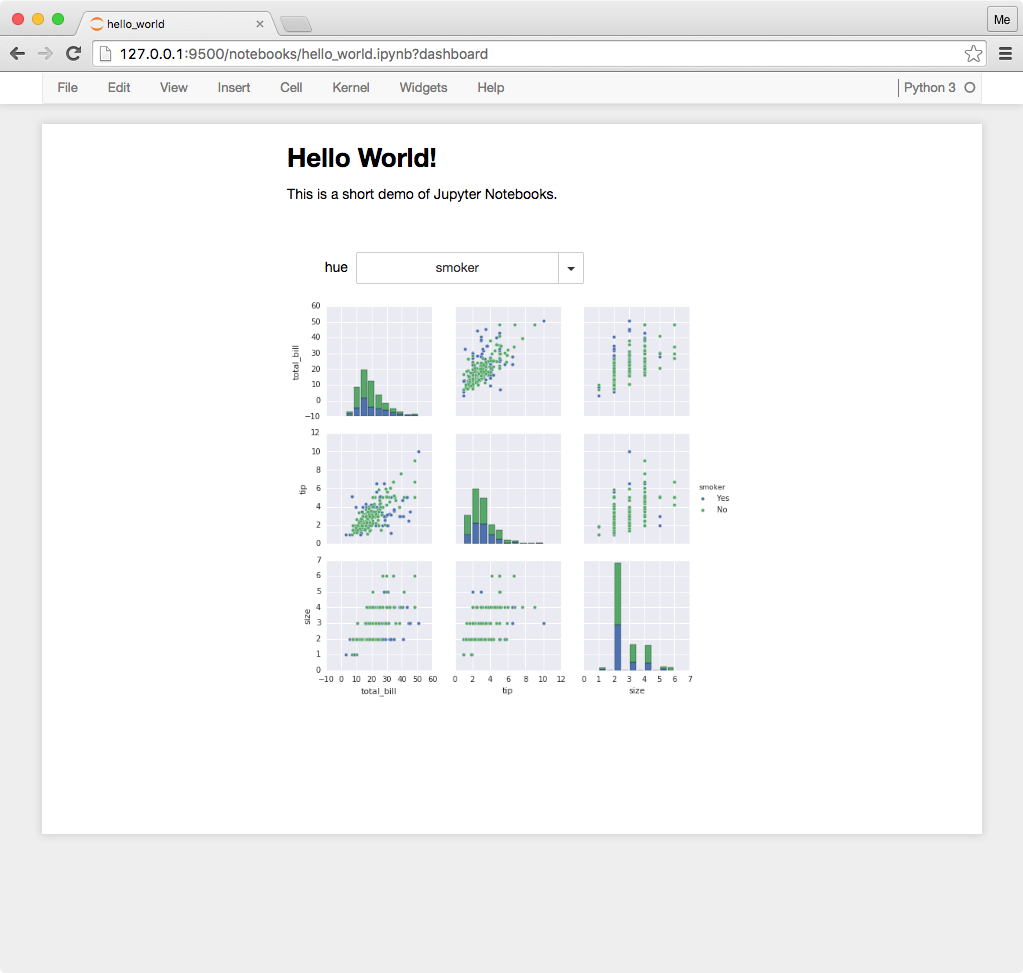
Click the Dashboard Preview button in the toolbar to view and interact with
the cells without the authoring tools. Alternatively, click the Dashboard
Preview menu item in the View menu.
Click the Notebook View button in the toolbar to return to the notebook
editor. Alternatively, click the Notebook menu item in the View menu.